The first to decide is what kind of Backdrop/Environment will be used.
I chose the kitchen_probe HDR image because I liked the "mood" of the scene and
because a bottle of Jack Daniel's would seem slightly misplaced inside the St. Peters Cathedral... |
||||||||||||||||||||||||||||||||||||||||
 |
||||||||||||||||||||||||||||||||||||||||
Here are the ImageWorld settings that worked best for me:
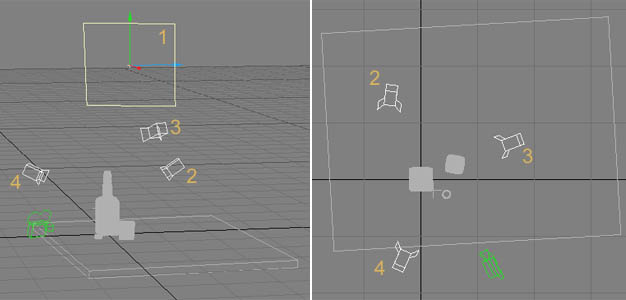
I wanted to have the window to the left and slightly to the back, because in this location/area I would place my main light and so the caustics would be clearly visible, not hidden by the geometry. Using a Bank rotation on the camera adds drama to the scene. The camera lens was set relatively low at 21,3 mm (on a 35mm motion picture camera) to implie a sense of dynamics (higher lens settings tend to look "static"). I'm a big fan of low lens settings :-) |
||||||||||||||||||||||||||||||||||||||||
 |
||||||||||||||||||||||||||||||||||||||||
Now let's set up the lights. Set Ambient Intensity to 0%.
The light colors should reflect the colors found in
the backdrop to achieve a smooth blend between the objects and the backdrop.
I chose to simulate this manually, but you can get Overcaster
by Eki Halkka (which I highly recommend anyway)
to make this task even simpler and use "Ambimage". Ambimage is even able to mimic "Backdrop Only" Radiosity settings...
Back to the point: |
||||||||||||||||||||||||||||||||||||||||
|
||||||||||||||||||||||||||||||||||||||||
Some more words on the Render Options settings and we're done: "mesh" is only one letter away from "mess" |
| previous |